Transform Your Photos into Stunning Art with Midjourney V5
Written on
Getting Started with Midjourney V5
Prepare to be astonished by the capabilities of Midjourney! This innovative tool can take any image—including your selfies—and transform them into breathtaking visuals. Imagine surreal landscapes, mythical beings, and stunning visual effects that will truly captivate your imagination. It’s like wielding a magic wand for your photography!
The best part? Utilizing it is incredibly straightforward! In this guide, I will walk you through the process in three easy steps. Note: This guide assumes you have some prior experience with Midjourney. If you’re new to it, please refer to the beginner’s guide.
Step 1: Upload Your Image
Begin by uploading your chosen image to Midjourney. Whether it’s a scenic landscape, a portrait, or a selfie, the selection is entirely up to you!
You have two options for uploading your photo:
- Simply drag and drop the image into Discord.
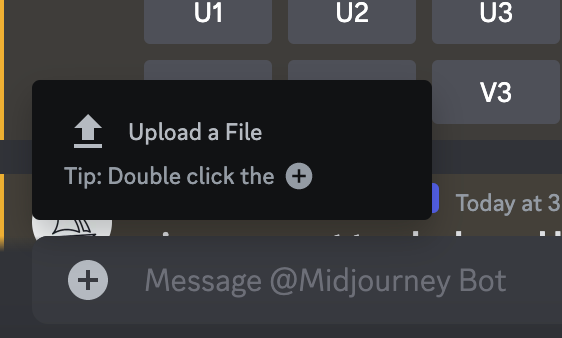
- Navigate to the MidJourney Bot section in Discord and hit the Upload File button.
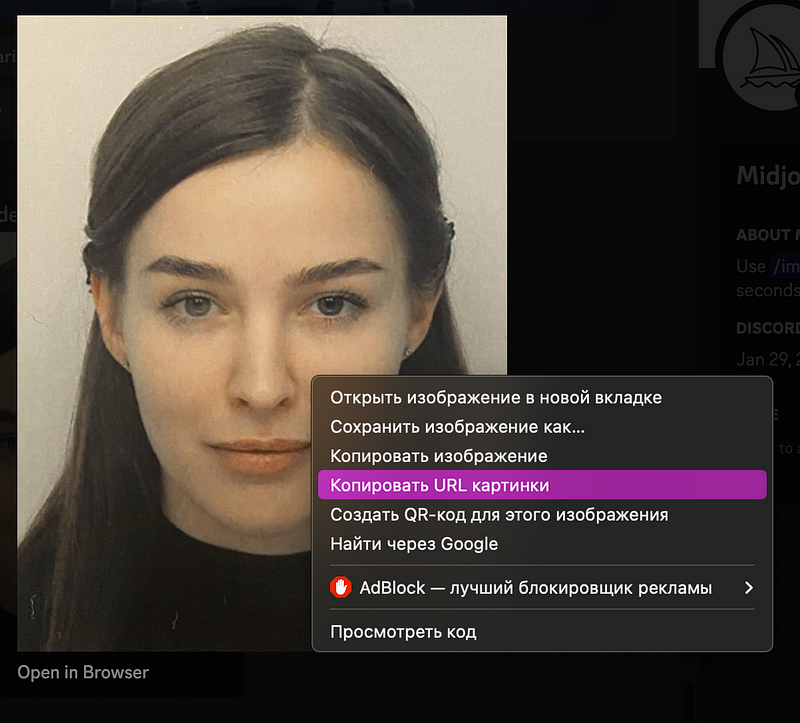
After uploading, click on the image, right-click, and select “Copy Image Address.”
Step 2: Create Your Visuals
Once your image is uploaded, it’s time to generate your prompt. Midjourney V5 provides an extensive set of tools and effects to personalize your image. You can modify colors, add filters, apply visual effects, or even create new objects and scenes from scratch!
If you need assistance with parameters or inspiration, check out this article that offers clear explanations of all the features available in Midjourney.
The style and parameters you choose will significantly influence the final image's quality and appearance. After pasting the photo link, enhance your prompt by adding details, styles, and parameters using the formula below (not every element is required).
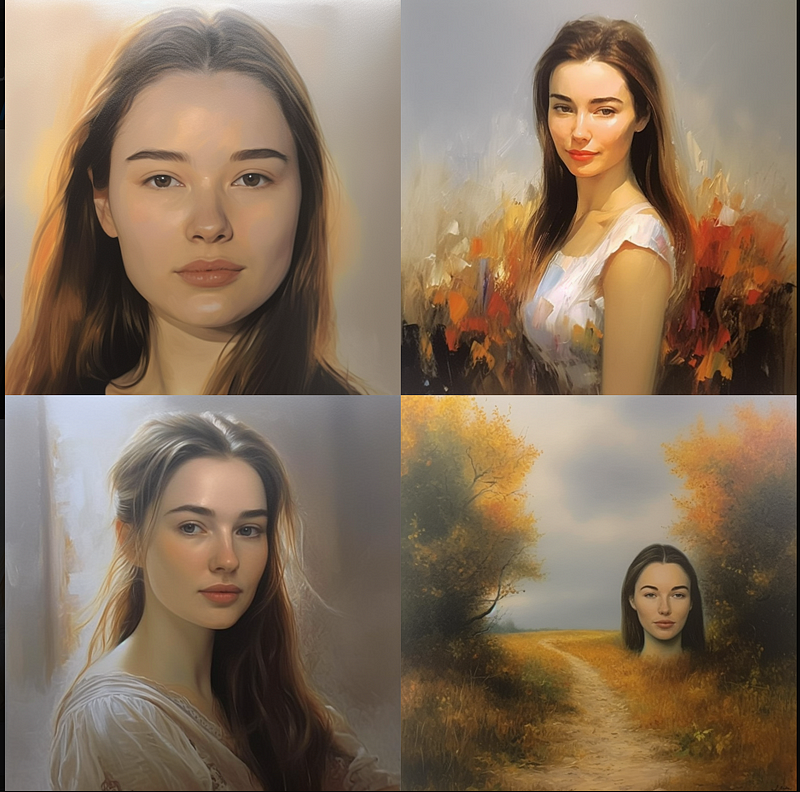
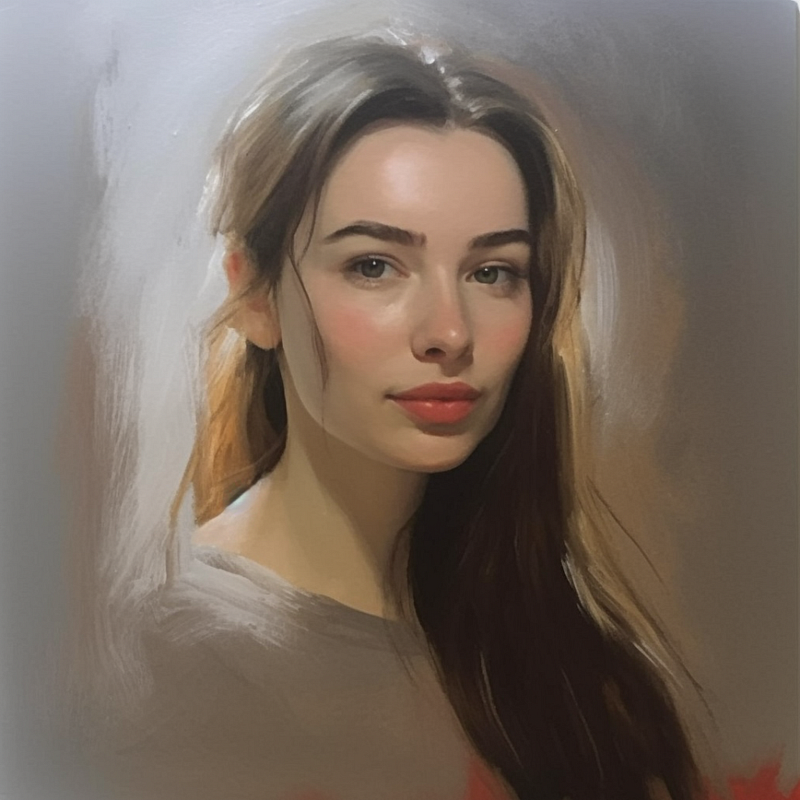
For example, to achieve an oil painting effect, simply include the phrase “oil painting” in your prompt.
Here are some results I obtained.
Step 3: Perfecting Your Edits
The true magic unfolds when you refine your edits. Midjourney V5 allows you to dive into the specifics and make precise adjustments for your desired look.
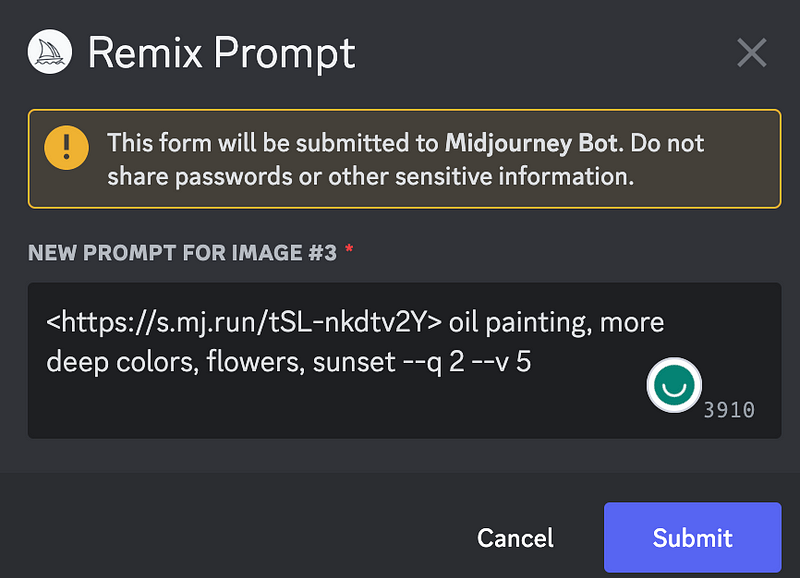
I selected the third image generated by Midjourney and remixed the prompt by adding extra details (ensure to enable remix mode via the /settings command).

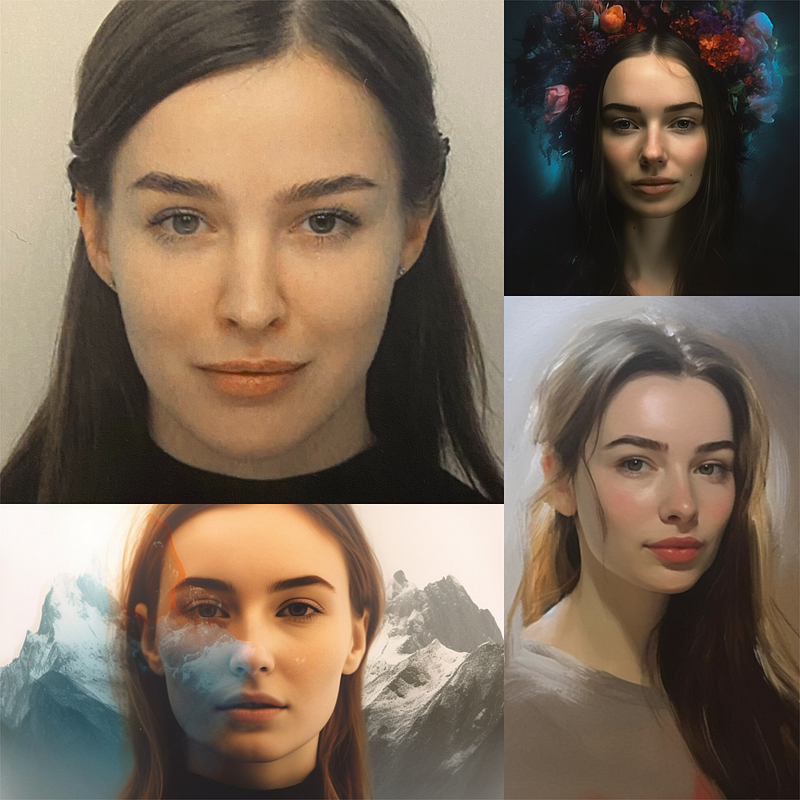
Ultimately, I achieved the effect I wanted, resembling an oil painting.
Experimenting with Styles
I also wanted to explore different artistic styles using the same image. I chose a dripping art aesthetic for my next project.

And here’s the outcome:
Additionally, I experimented with a double exposure aesthetic.
And here’s what I created:
Bonus: Merging Two Images
Interested in combining two photos? No worries! You can upload two images and merge them, enhancing the final result by adding more details.
For my test, I used one of my photos alongside an image generated by Midjourney, applying some additional details.

I merged the two pictures and made minor adjustments to create a vibrant, cohesive photo.
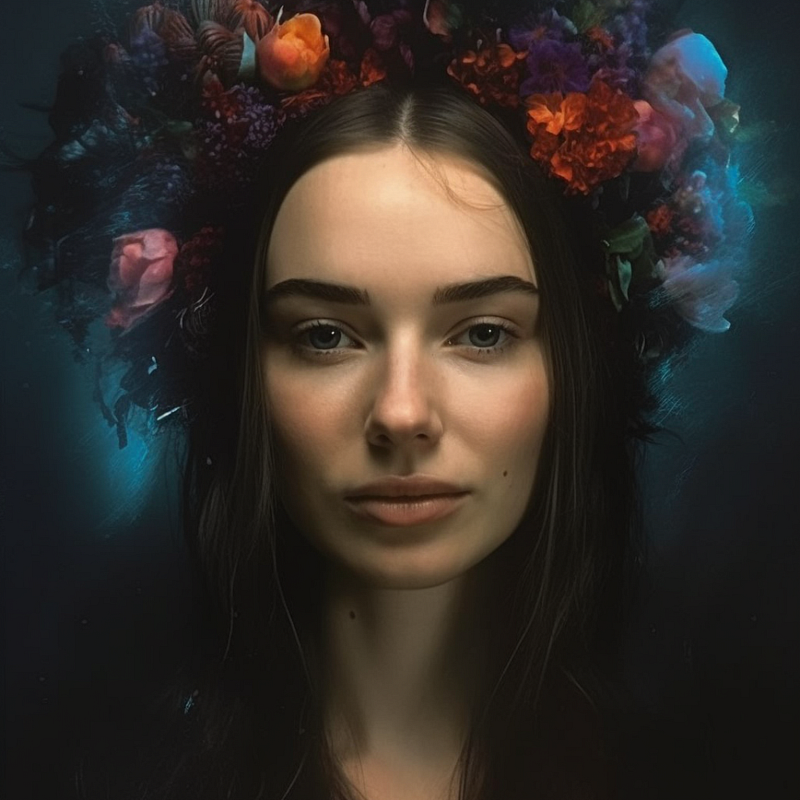
Using the second image above, I added a couple of details (ultra-realistic photo and color) and was thrilled with the outcome.

Unleash your creativity by experimenting with your photos, and get ready to be pleasantly surprised by the results!
In this first video, you’ll learn how to upload a reference image or artwork and use it as a prompt in Midjourney V5, providing a detailed tutorial.
This second video offers a guide for beginners on how to use your own photo in Midjourney V5 AI to create stunning art!